I picked up a couple of red velvety curtains in a charity shop ages ago. You know the type. As soon as I saw them I thought it'd be really fun to turn them into a hooded cloak. Just like one I'd seen, tried on, adored and ultimately walked away from at the Pittsburgh Renaissance fair a few years ago!
Here's my how-to on making a pretty easy cloak.
Red Riding Cloak
I don't use patterns (or measurements, particularly!). I'm much more of a chop-and-go sewer, but the cloak was a pretty simple item to put together regardless. It didn't really require that level of precision to make, so apologies if you prefer more information!
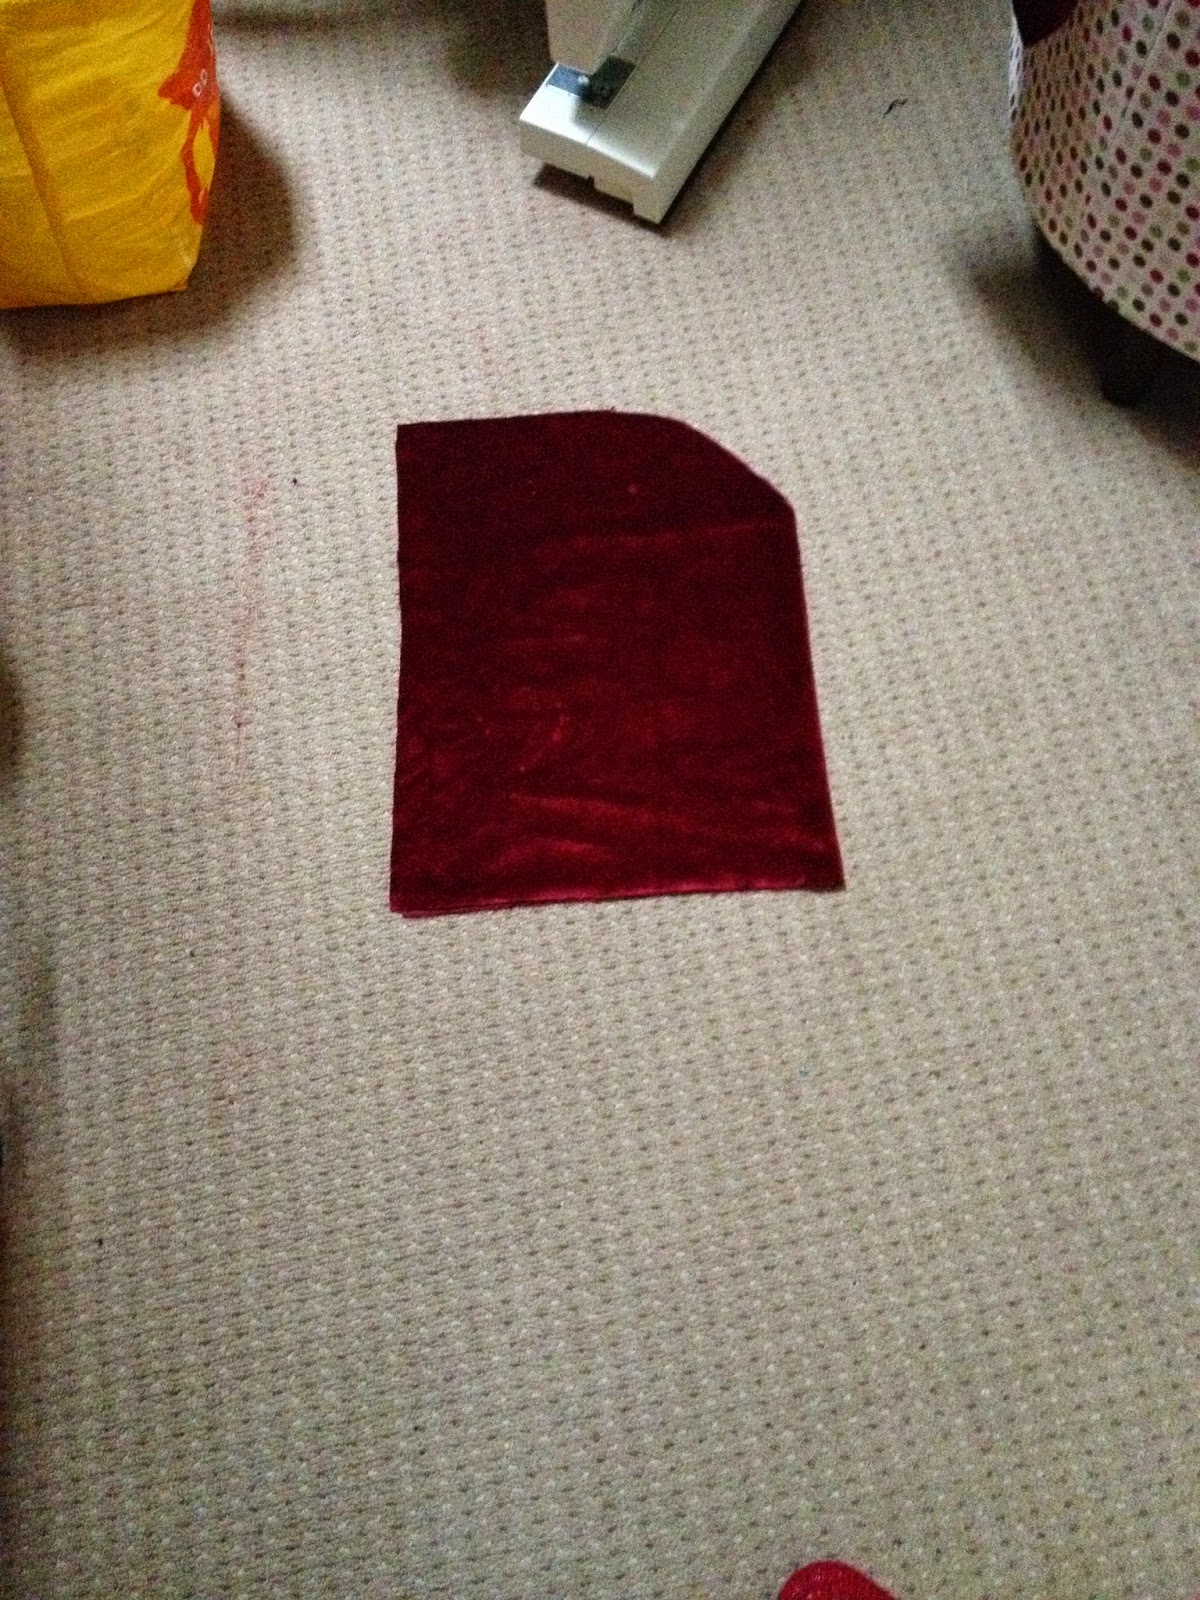
Step 1: Fabric for the Body
I pretty much use the curtain as I had it, just cut to size. This meant the bottom edge was already hemmed, which is always a bonus!
I 'measured' the fabric by holding it up to myself and cutting. The short edge in the picture is the top-to-bottom length. I decided to go for a roughly hip-length cloak.
I overlocked then hemmed the short edges, these end up at the front of you when you have the cloak on so keep them neat :)

Step 2: Fabric for the Hood
For the hood, I grabbed a hooded jumper that has a nice size hood on it to get a general feel for the size. I cut a rectangle (on the fold) bigger than the hood of my jumper. I then rounded it off because I didn't want a pointy hood. But that's entirely about taste.
Here it is folded and open:

I overlocked(/serged) the straight sides. It means I didn't have an additional layer to sew through in the next step.
Step 3: Lining the Hood
I had a scrap of silver satin hanging around, it was enough for the hood but just a smidge too small to line the body unfortunately.
I cut the lining to the size of the outer fabric and 'pinned*' them down the straight sides (which will become the front of the hood).
Because I'm not overly accurate or fond of ironing, I thought sewing right sides together and turning the right way in would result in the lining hanging out the front of the hood, which I didn't want (and everyone always gets picked up on visible lining on the Great British Sewing Bee), so I put the fabrics wrong sides together, then folded the raw edge of the silver under and folded the red over it. This might be a 'look at the pictures' kind of thing if you're not sure what I'm talking about. Hopefully it will become clear during the construction.
As I said before, I overlocked the edges, but if you haven't got that option, you'd probably want to fold that raw edge under as well, but that's 3 layers of the main material plus 2 layers of lining to sew through.
*When I sew with thick fabrics I use bulldog clips instead of pins. Much less fuss.


Step 4: Putting the Hood Together
At this point the hood is a flat piece, sewn together down the 2 straight side edges. I then turned it inside out so that the right sides of both fabrics were facing each other. This next part requires you to sew the outer and lining to shape separately, so keep that in mind. I don't have any pictures of this part, so have improvised.
Fold the outer material, right sides together, and sew along the top curved edge (the white dotted line). The green line is where it is already attached to the lining. You just have to keep that out the way for the moment. Make sure you match up that top left corner perfectly, it will be sitting in the centre of your forehead so a mismatched edge will be very visible!

Here's what mine looked like at this point. You can see how the red folds into the lining.


Step 5: Gathering the Body
You need to make the top of the body piece the same width as the bottom of the hood. The best looking way to do this (in my opinion) is to gather the wider body piece. Now normally this is a fairly straightforward task. You sew 2 lines of running stitch along the edge you want to gather, then hold onto the top threads of both lines and pull the fabric along it. It's usually a simple thing. But alas, not this time! My curtain fabric was too thick. It started off well enough, and ended when the thread snapped and I had to go through the tedious process of unpicking the whole lot.
I googled around a bit and found the technique that ultimately worked beautifully for me. I followed the advice given here. I used a piece of thick string, and a zigzag stitch which sews on either side of the string. At the end you slide the fabric along the string and it creates gathers until it's the length you need it.


You then shuffle the gathers along until they're even.

Step 6: Attaching the Body to the Hood
Pin the hood and body together, right sides together (outer fabrics of both pieces together. Sew a running stitch along this, but take your time, the gathers will add quite a bit of extra thickness. Make sure you're catching both layers.


Step 7: Finishing Touches
I had some ideas about the fastening at the front but as this was a stash project, I only had certain supplies to work with. I choose these massive white buttons. The ribbon wasn't overly sturdy, so I actually ended up using a hairband!
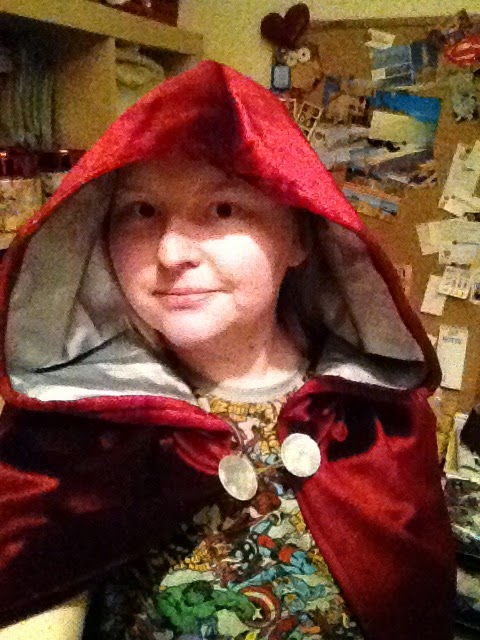


Tudah!
Red riding cloak, all done. Nice productive afternoon :)