I have been super busy and super focused on crafts recently, so what better than to make a super skirt!
Superhero Panel Skirt
The fabric used in this is 'Springs Creative Marvel Comic Pack' from Walmart. I only bought a yard (what was I thinking?! I should have stocked up!), but I really love it. The colours are great and the comic illustrations are perfect.

Here is the finished garment in action:

Step 1: Chop chop!
As explained in my previous post I have a thing about cutting fabric. It is especially true when I only have a single yard/metre/fat quarter/tiny amount of that fabric. But wait! What's happened to me? I hacked into this without a moment's hesitation! Ok, I did make a pattern to make sure it would be right, but still! I'm loving the new me... watch out fabric stash, I'm coming for the rest of you!I have found much love for full circle skirts, as they are so easy! No seams to deal with or anything! I used the clear, detailed instructions at sewlikemymom.com to work out my measurements for the skirt in this post, and have kept hold of the pattern I made with it. What I chose to ignore however, was common sense.
Here it is on my black fabric, post cutting.
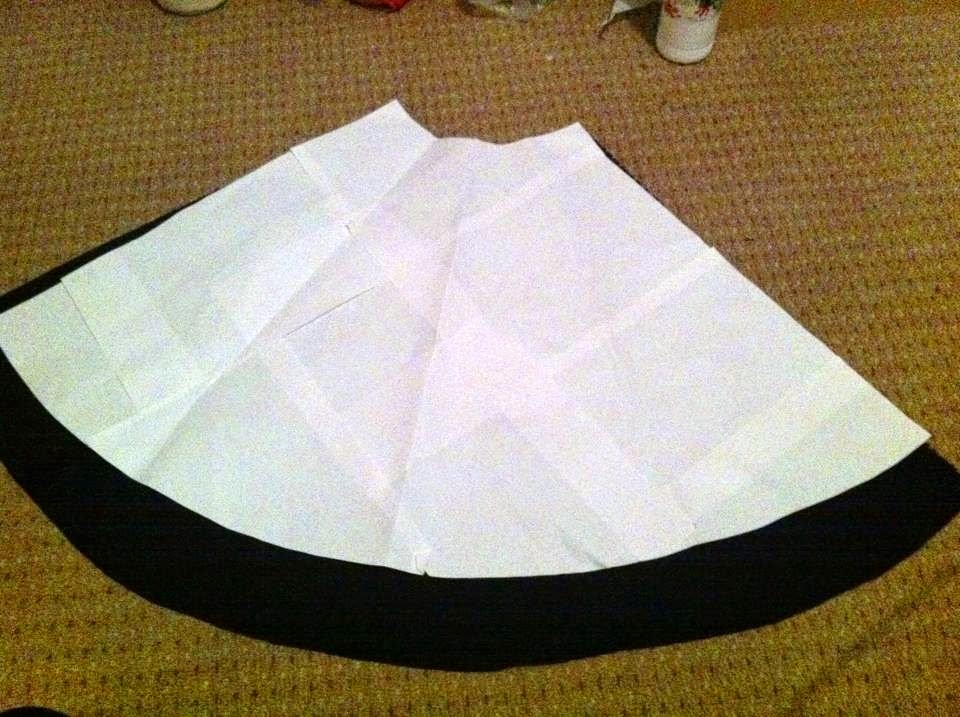
Now I had already decided that I didn't want a full circle for this skirt. I was going to be adding panels anyway, so it wasn't necessary for the look I was going for. I knew (read again - I knew, in advance) that my pattern would have a waist that would be 50% too small, because, y'know - full to a half circle skirt... I do good maths ;) "That's fine! I'll just add a couple of inches to the bottom! No worries!", I told myself. Turns out, in reality it was a lot more to trim from the waist than I thought it would be. I did have a back up design in case it ended up too short (I'm not really one for short skirts) but luckily it was just long enough.
Use my optimism as a lesson. Do the proper measurements, folks.
Once I'd finally got my skirt cut and hanging nicely, I made a triangle paper template to ensure my panels would all be the same size. And cut them. Snip snip snip. I thought I could save fabric by interlocking triangles, but of course not. The pattern is clearly one way up.


I decided I wanted 4 panels, one on each side, front and back. So I lined up the black skirt (seam to the left side as I went for a zip closure), chalked lines on the centre front and back plus the right side, then cut slits half way between all of these the same length as the triangle sides.

Step 2: Sewing in the Panels
Next came some sewing. I pinned right sides of the black & hero fabrics together along one side of a panel, and sewed them. Make sure the very point of the triangle sits on the inside of your fabric. Then pin the other side the same way and repeat. And repeat, and repeat, and repeat.


Step 3: Waistband & Zip
Strangely, I don't have any pictures of the waistband until it's firmly affixed. So you'll have to just picture it in your minds instead, I'm afraid.It was just one long rectangle of the hero fabric and one of the black fabric. Right sides together, I sewed along one long side of the 2 rectangles, then turned it the right way round and ironed it flat, making sure the black wouldn't be visible at the top. I top stitched this down to give a nice flat edge. I then put the waistband and skirt right side together (top of the skirt meeting the bottom, unstitched part of the waistband) and sewed. I started and finished either side of the skirt seam with a little extra fabric so that I could insert the zipper.
Where the fabric (both waistband and skirt) met the zip, I folded it under, pinned it down and sewed a running stitch as close as I could get to the zip (without a handy zipper foot!). Hulk approved.

All I then had to do was close up the side seam of the skirt and I had a nice new item of clothing! I later added a little Iron Man keyring to the zip pull.
And that's it. Pretty quick to do and nothing overly complicated involved. I have a million and one ideas for other skirts of the same design now!


- Sam
No comments:
Post a Comment